Cloudsim Simulation in Netbeans Java
Step1
open Netbeans, Go to file–>>new project

Step 2
select “Java” folder then select first option java Application, Press next

Step3
Now give a name to the project as you wish, then un-check the “create a main class” press next.

Step 4
Now your project is been created as shown.
Step5
Go to library, right click on it, a menu will come, click on “Add jars/Folders”

Step6
Now browse the cloudsim folder which you have extracted from zip file .and go to that folder and select “cloudsim-3.0.3.jar”.
Now browse the cloudsim folder which you have extracted from zip file .and go to that folder and select “cloudsim-3.0.3.jar”.

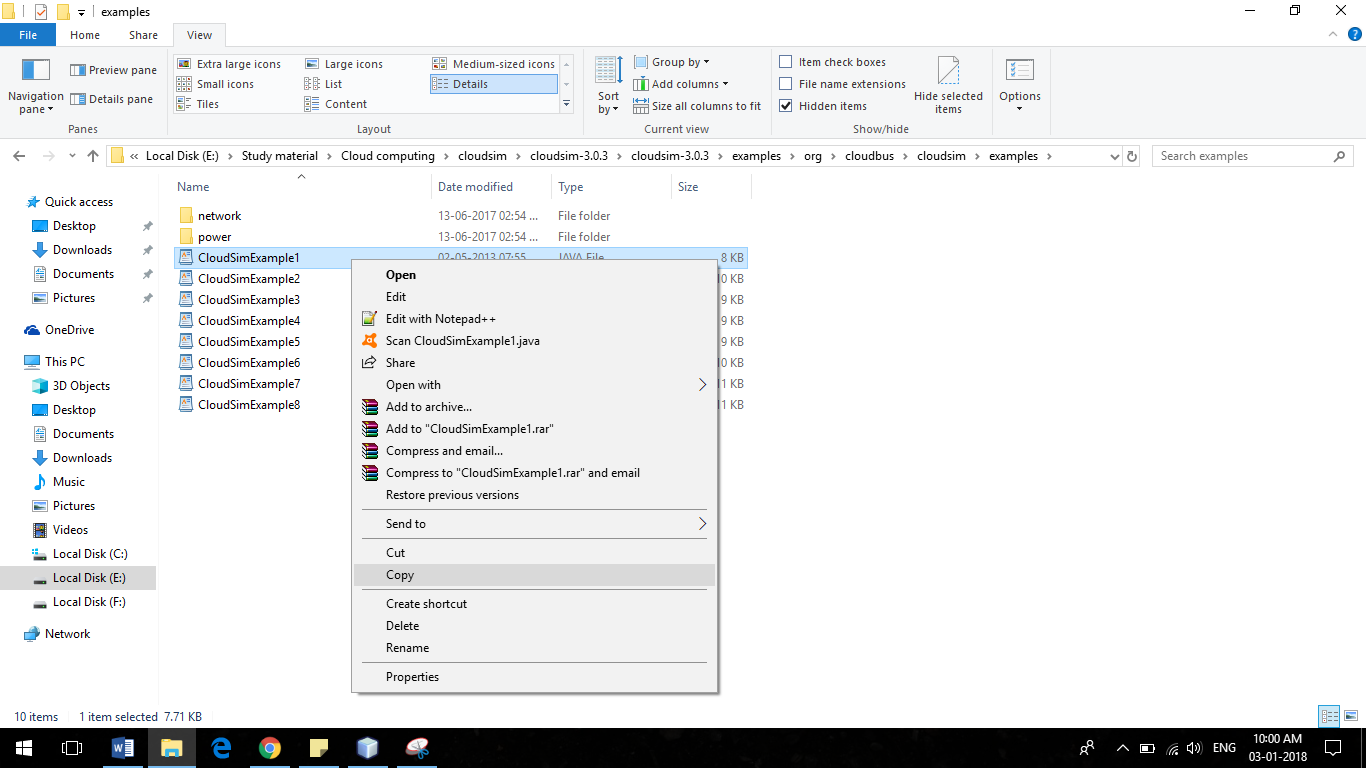
Step7
copy the example 1 from cloudsim org folder and paste that into the source packages of the created project in NetBeans
Step8
To run the example right click to that class and click to run File.

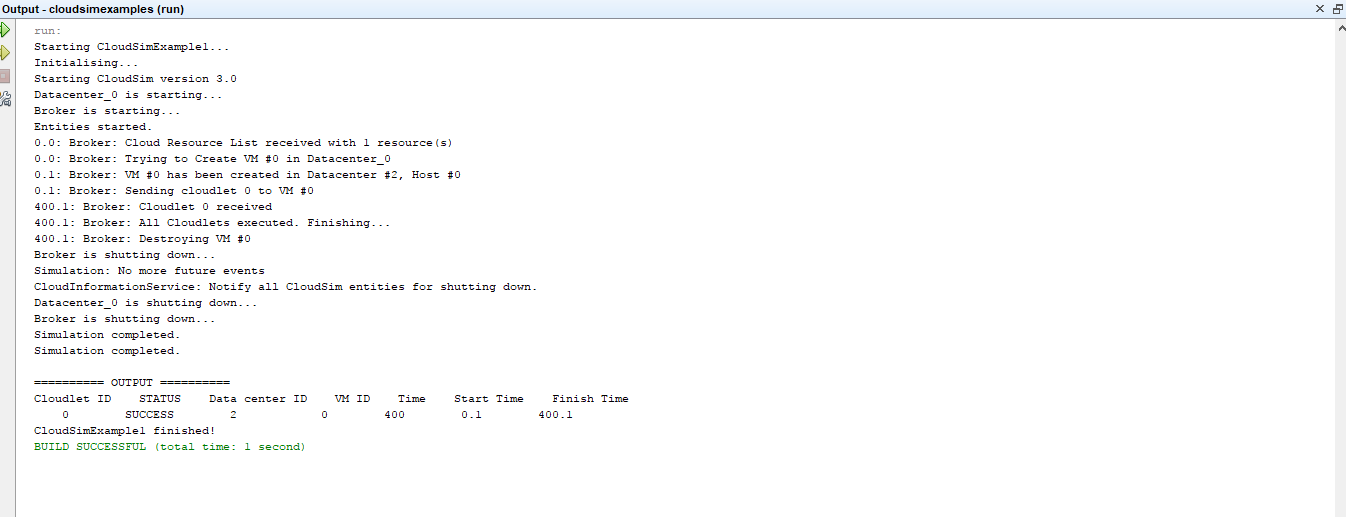
Step9
The simulated results are shown in the console window